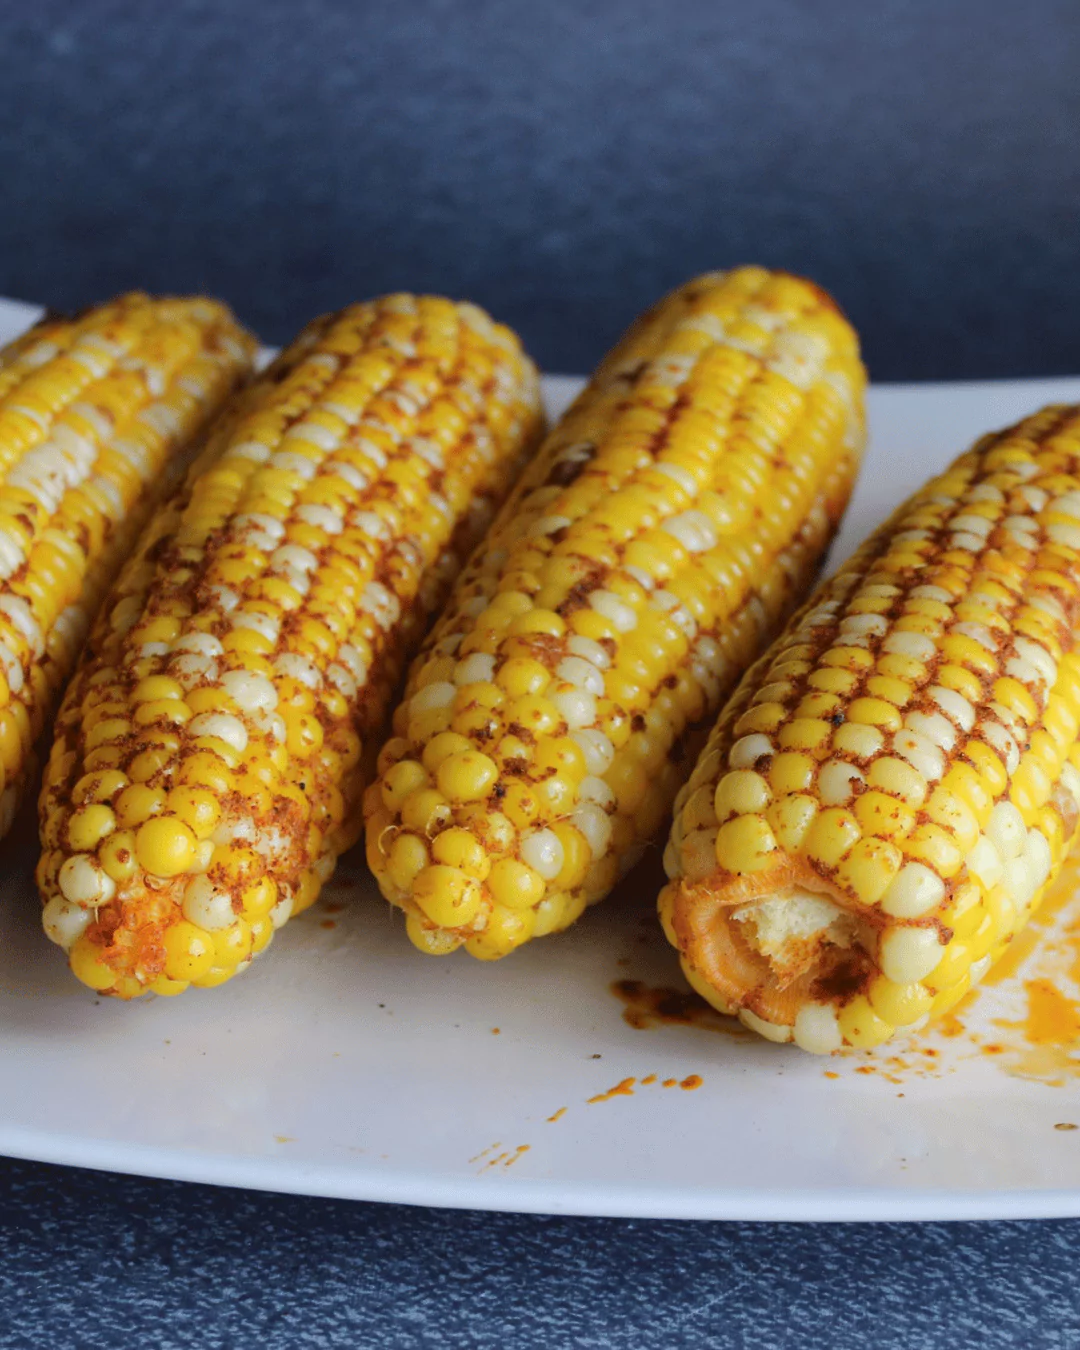
When it comes to summer grilling, few things evoke the feeling of warmth and joy like the sweet, smoky aroma of freshly grilled corn on the cob.
Whether you’re hosting a backyard barbecue, planning a picnic, or simply enjoying a relaxed evening outdoors, grilled corn is a must-have addition to your menu. This simple yet delectable recipe will take your corn on the cob to a whole new level with a medley of mouthwatering flavors.
So, let’s fire up the grill and dive into the world of grilled corn that will leave your taste buds begging for more!
Grilled Corn Instructions:
Step 1: Prepare the Corn
Start by preparing the corn for grilling. Peel back the husks of each ear of corn, but do not remove them entirely. Gently remove the corn silk, making sure to leave the husks intact. Then, fold the husks back over the corn, forming a protective cover.
Step 2: Create Flavor Pockets
Cut four pieces of foil, one for each ear of corn. Place each ear of corn in the center of a foil piece.
Step 3: Add Butter and Seasoning
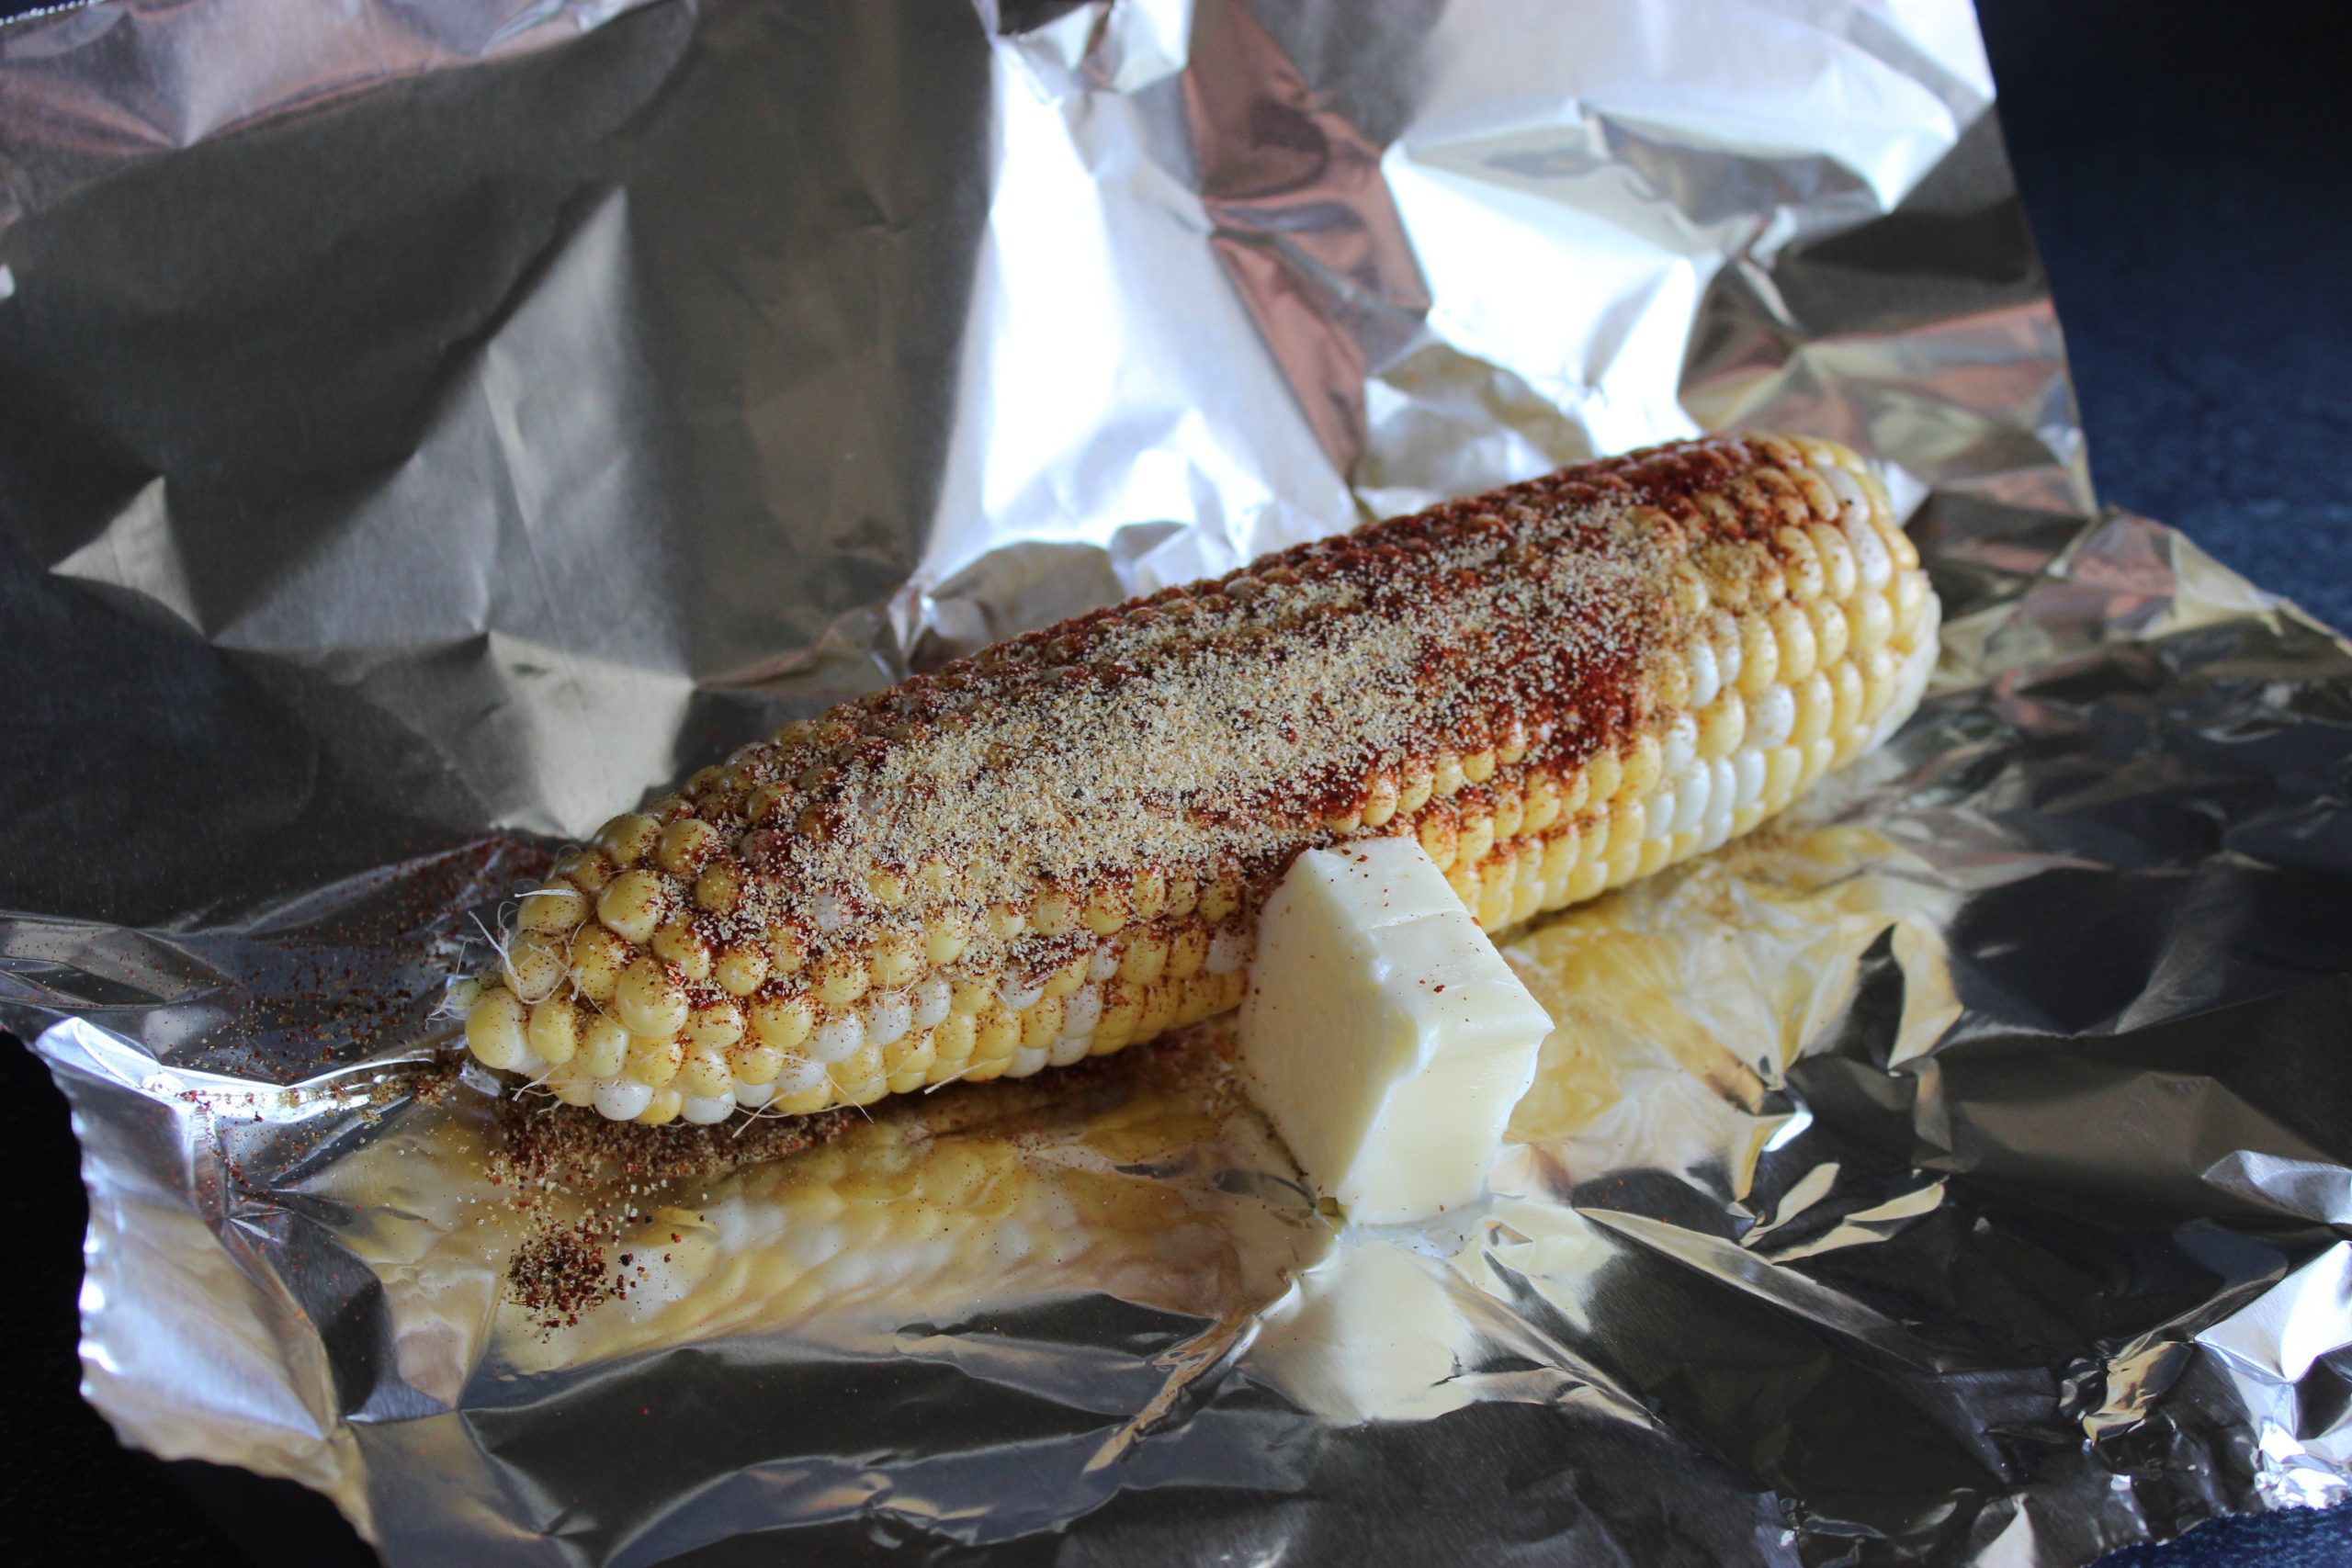
Take 1 tablespoon of room temperature butter and spread it evenly over each ear of corn, making sure to coat the kernels. The butter will not only enhance the flavor but also help the seasonings stick to the corn.
Step 4: The Flavorful Medley
Now, it’s time to add the burst of flavors that will elevate your grilled corn to a whole new level. Sprinkle 1 teaspoon of garlic salt, 1 teaspoon of paprika, 1 teaspoon of chili powder, 1/8 teaspoon of salt, and 1/8 teaspoon of pepper onto each ear of corn.
Step 5: Seal the Flavor
Gently rub the butter and seasoning onto each ear of corn, ensuring that the flavors are evenly distributed and coat every kernel. The combination of garlic salt, paprika, and chili powder will create a delightful harmony of savory and smoky notes that will leave your taste buds dancing with joy.
Step 6: Wrap and Twist
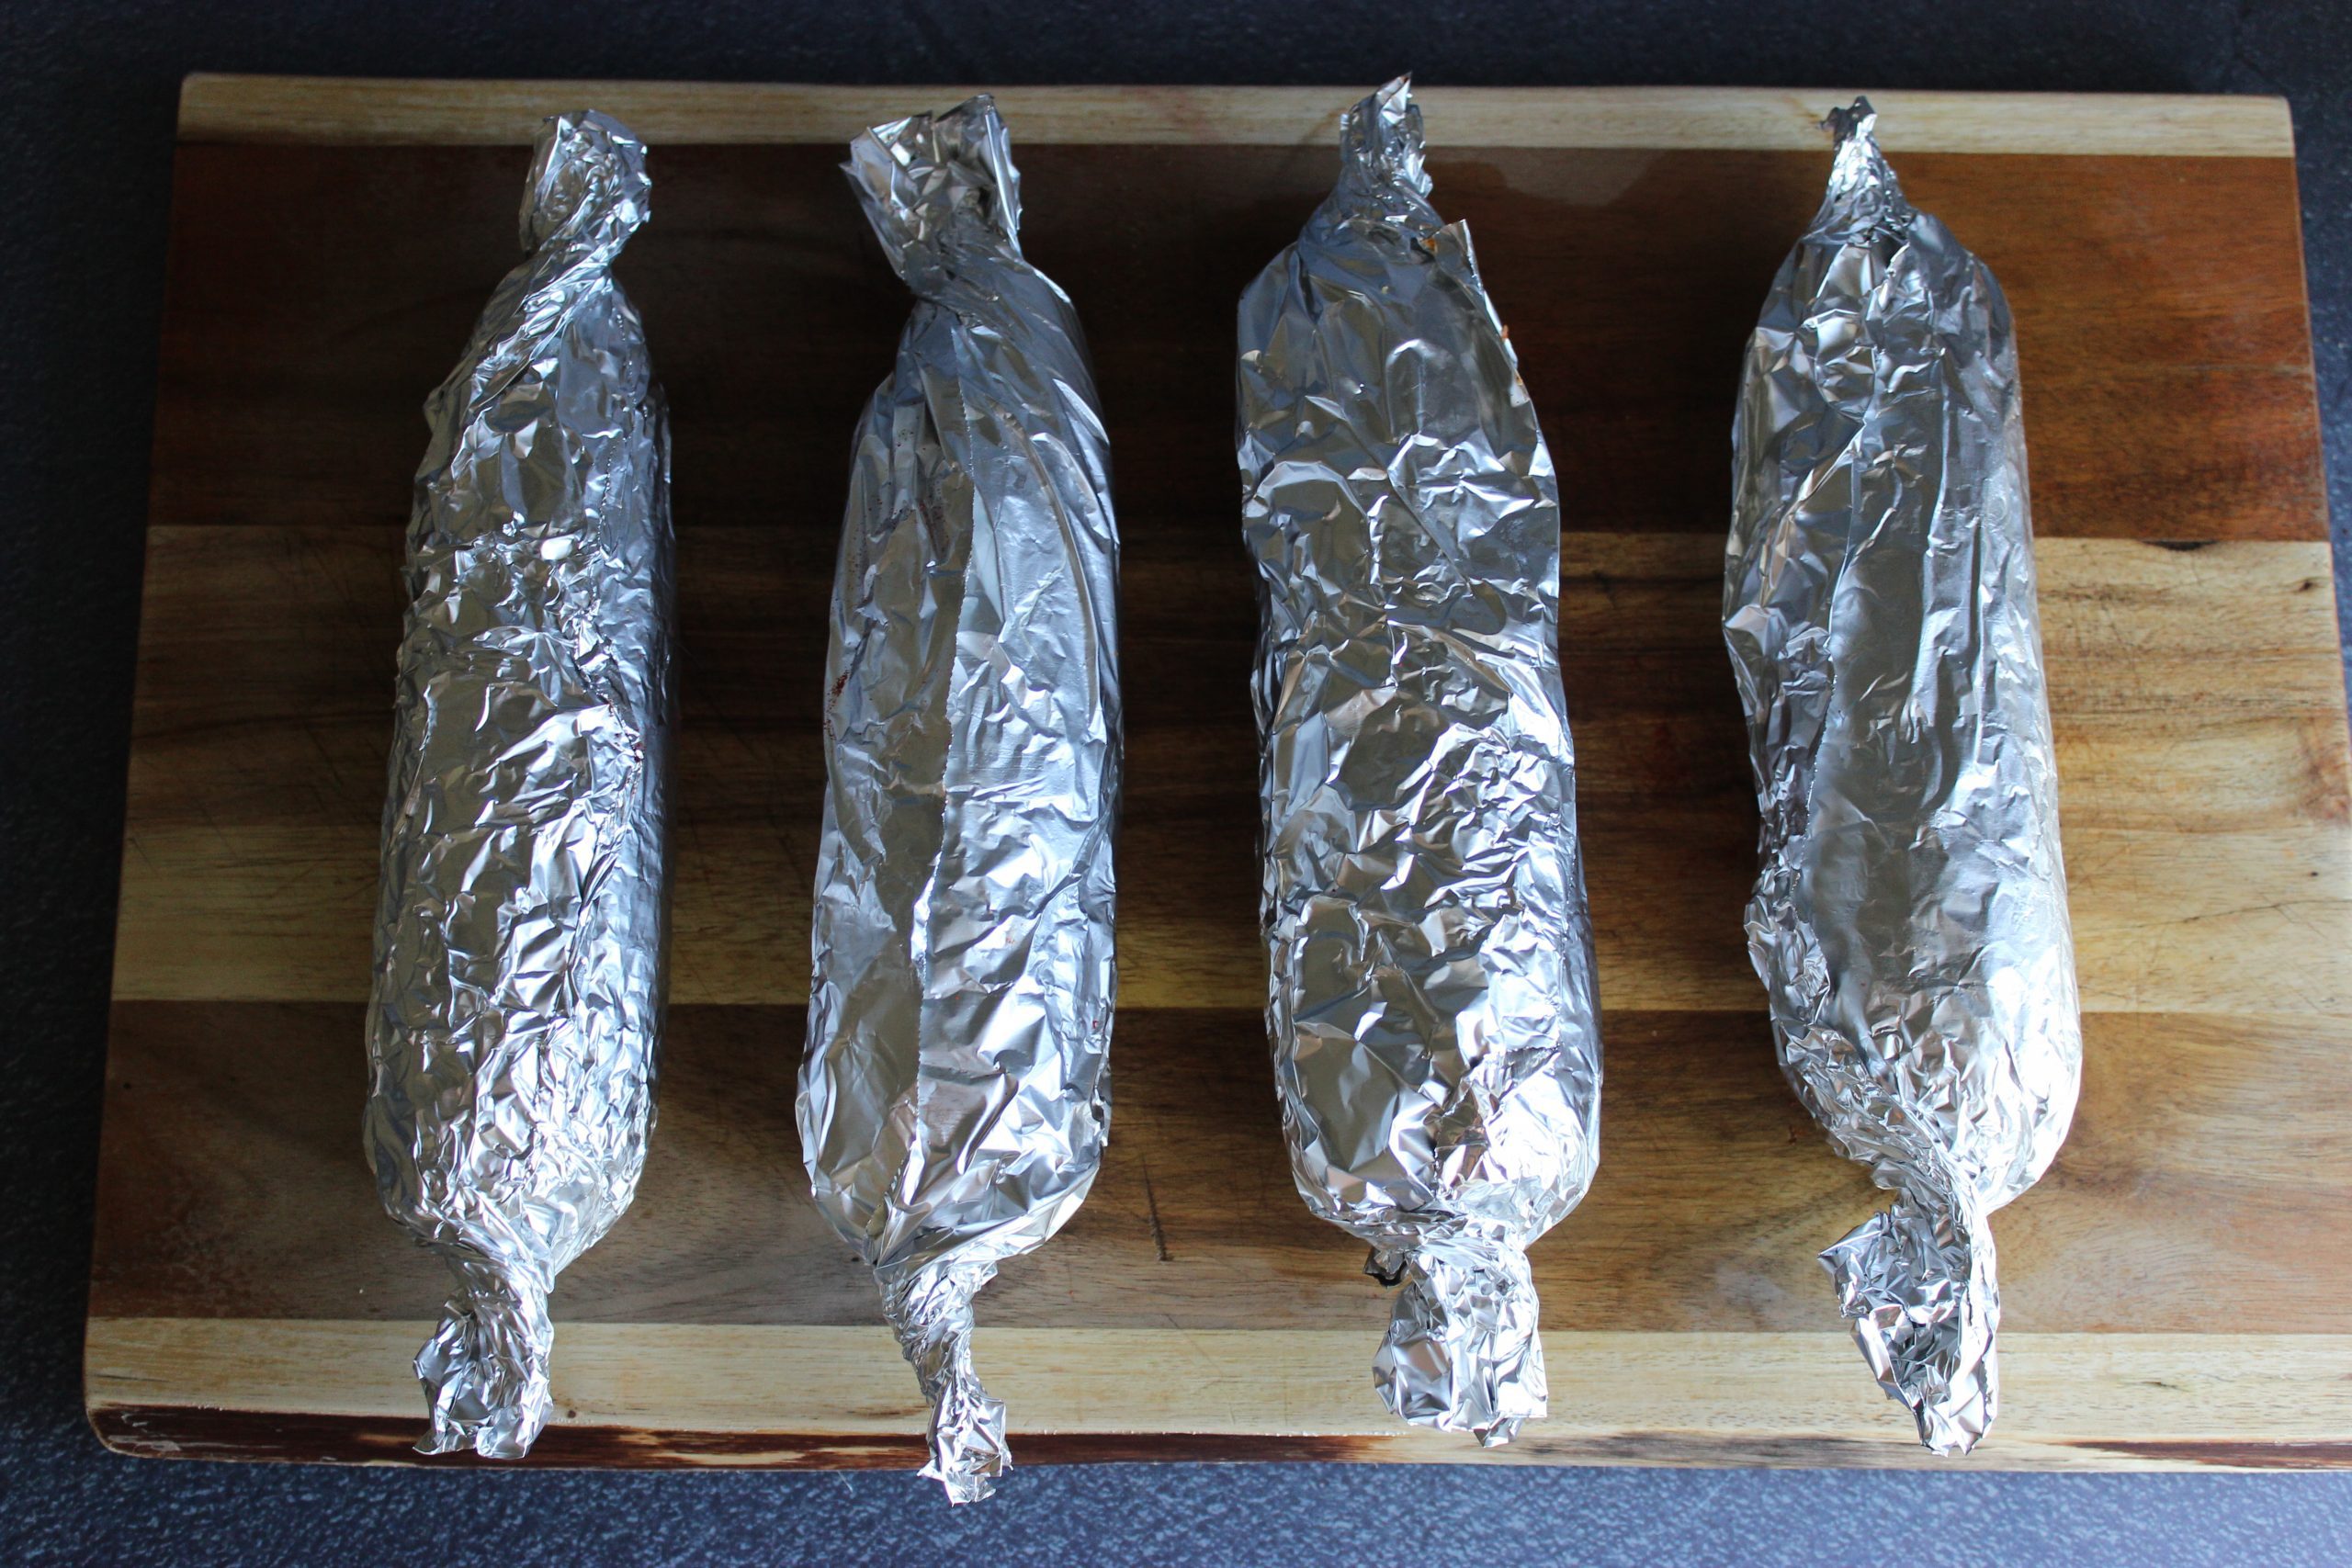
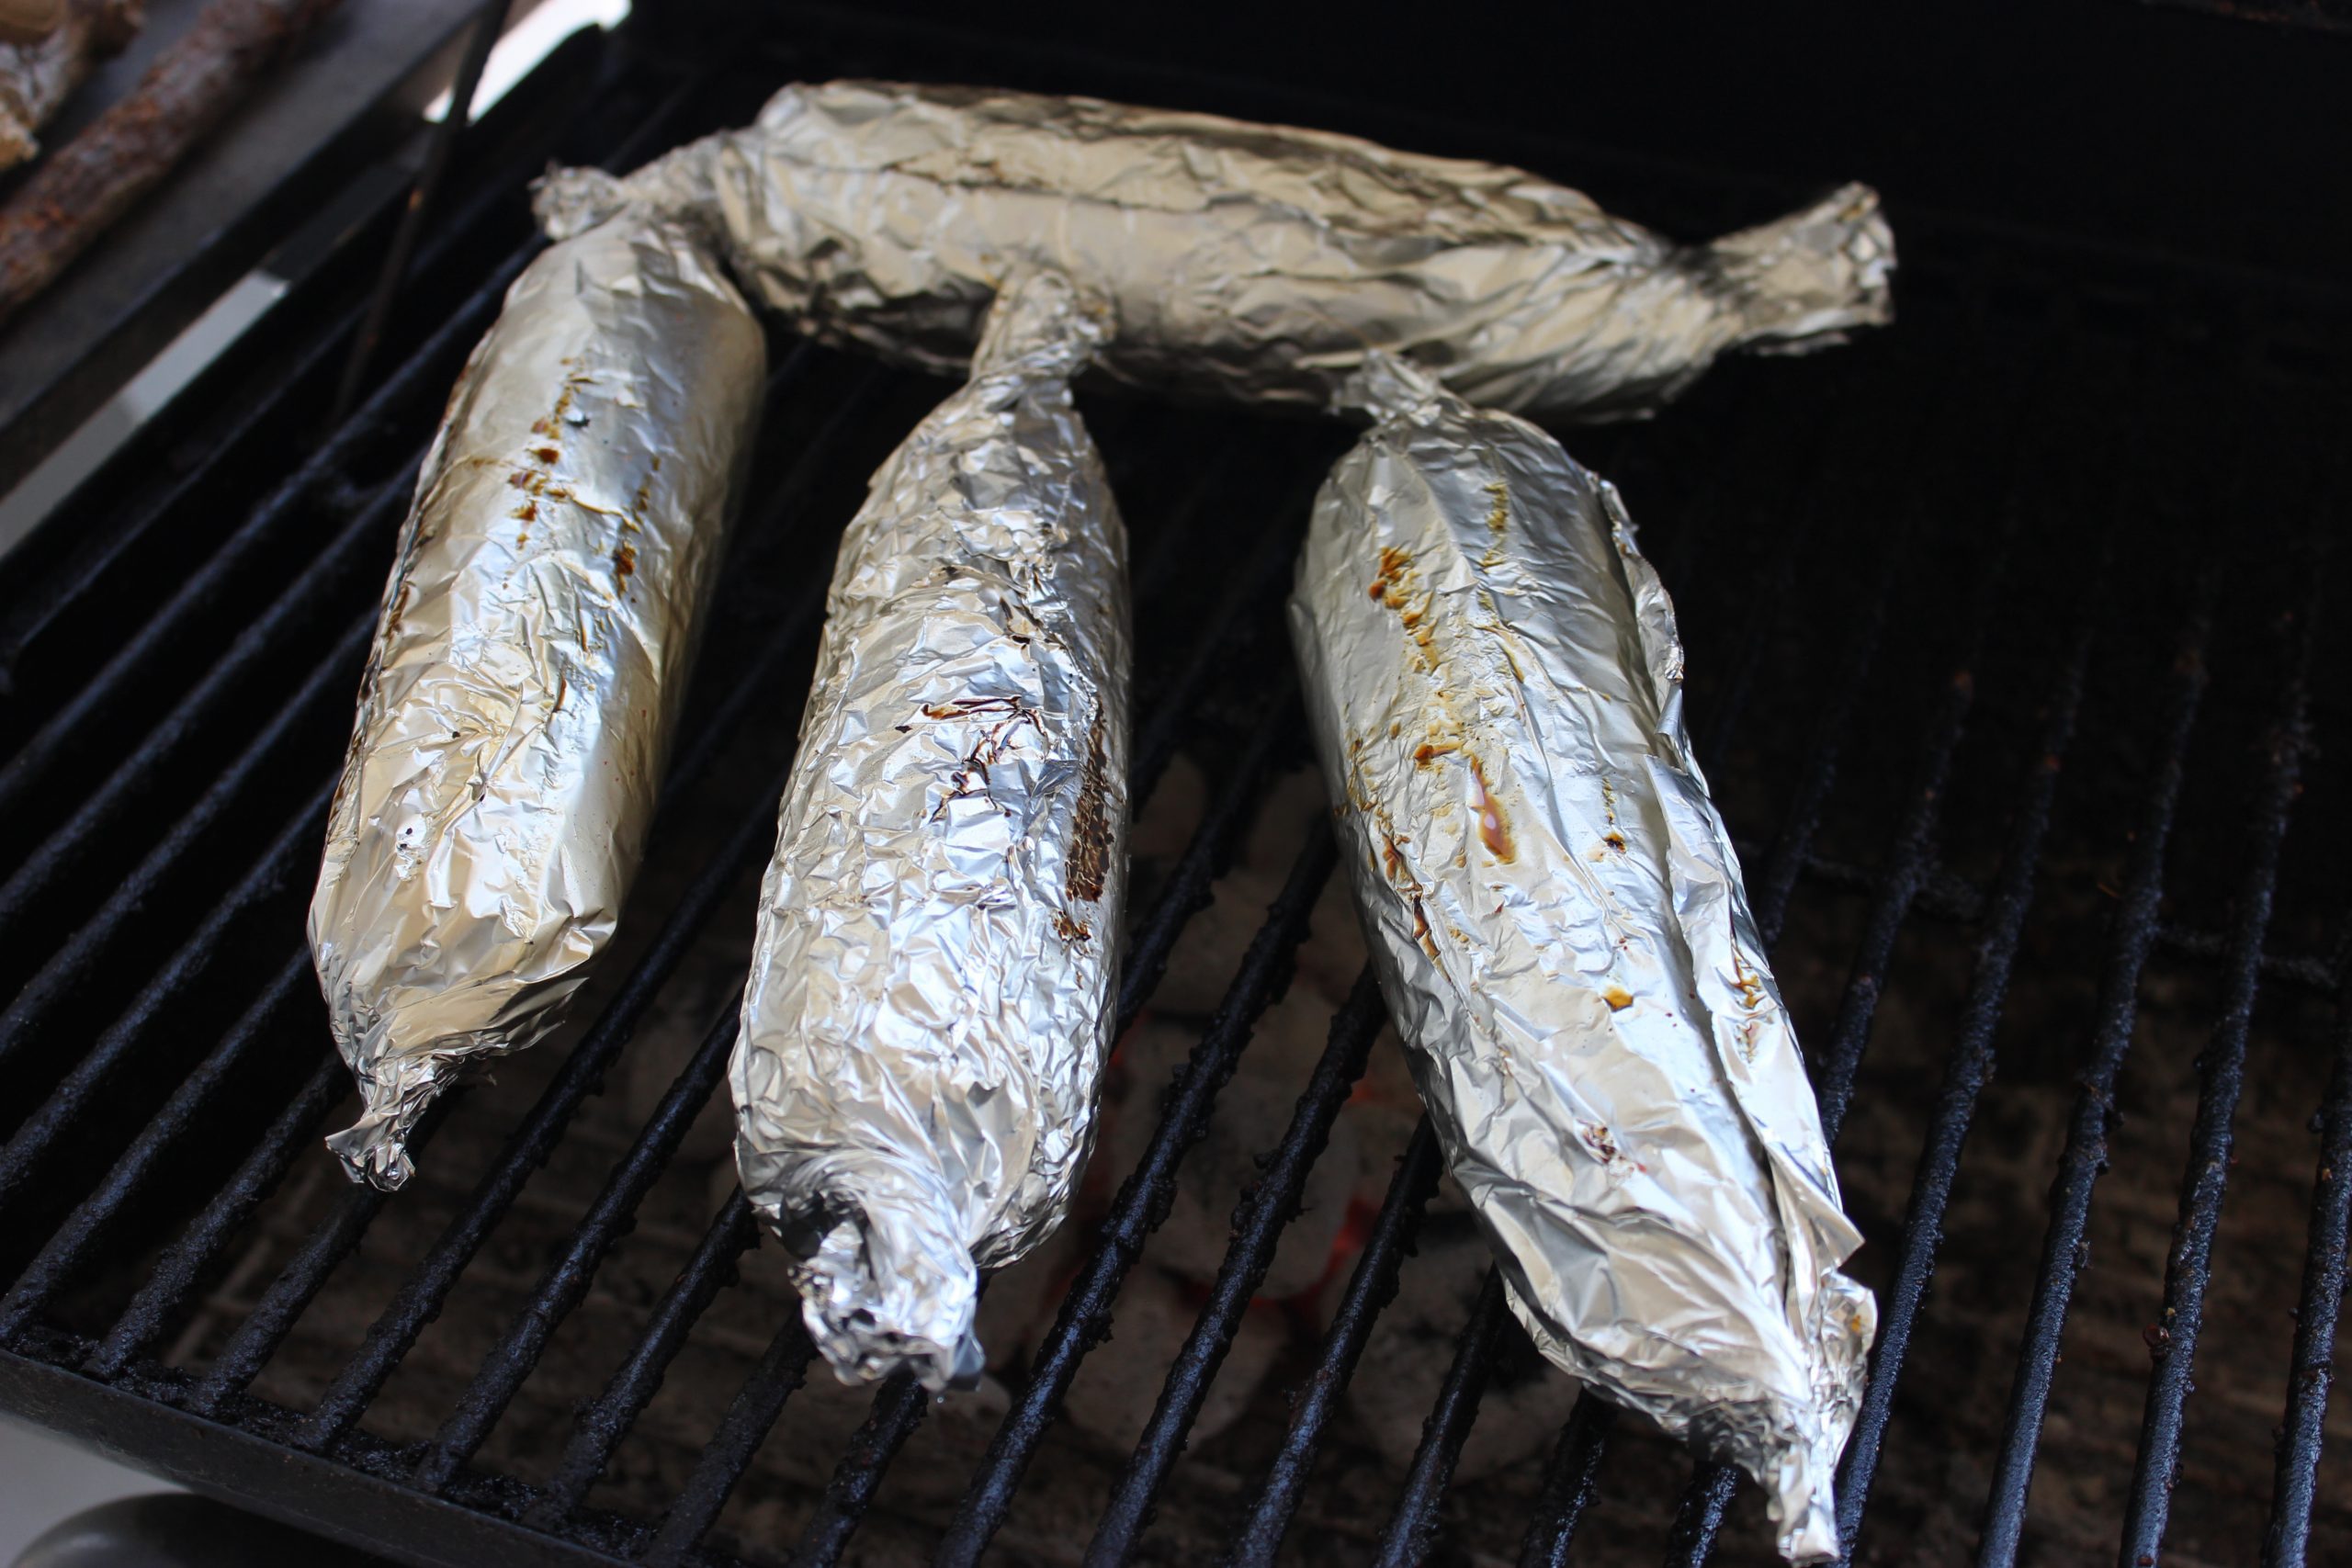
Once the corn is coated with the butter and seasoning, roll up the foil around each ear of corn, enclosing it securely. Twist the ends of the foil to create little flavor-packed parcels.
Step 7: Grill to Perfection
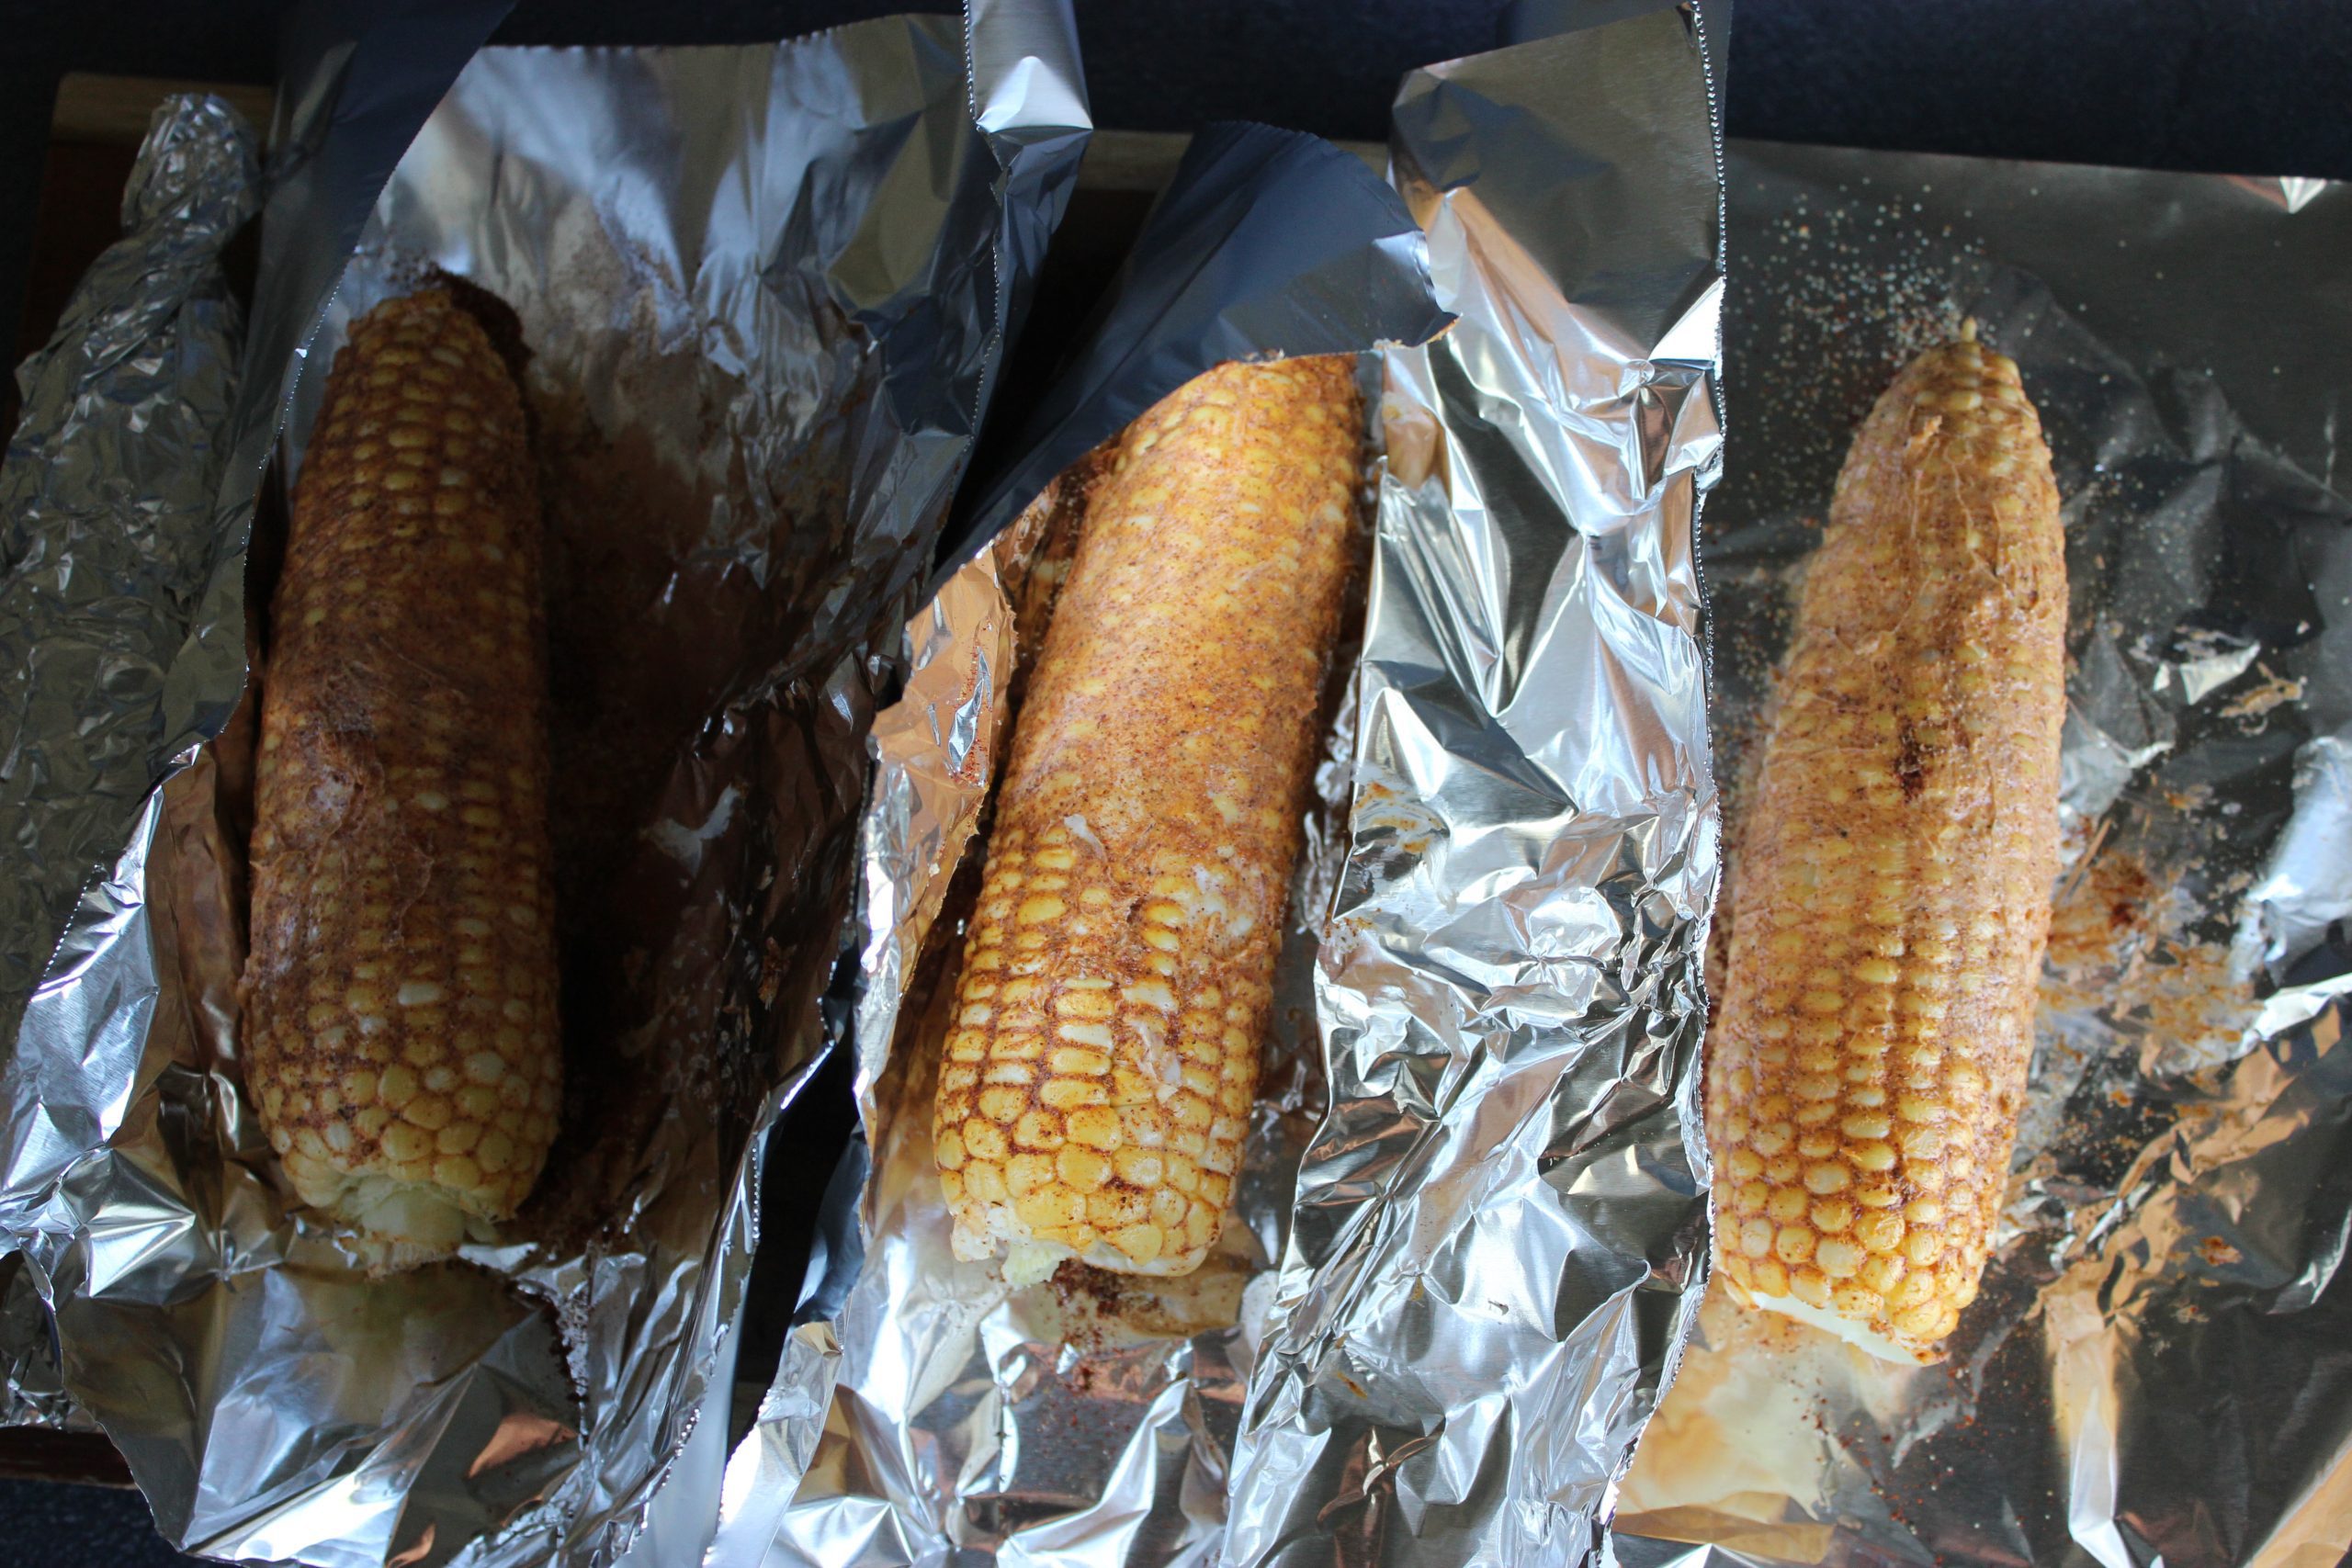
Preheat your grill to medium heat. Place the foil-wrapped corn directly on the grill grates. Grill the corn for 20-30 minutes, turning occasionally to ensure even cooking and prevent burning. The husks will help steam the corn, keeping it tender and juicy, while the grill adds a lovely smoky char to the kernels.
Step 8: Unwrap and Enjoy
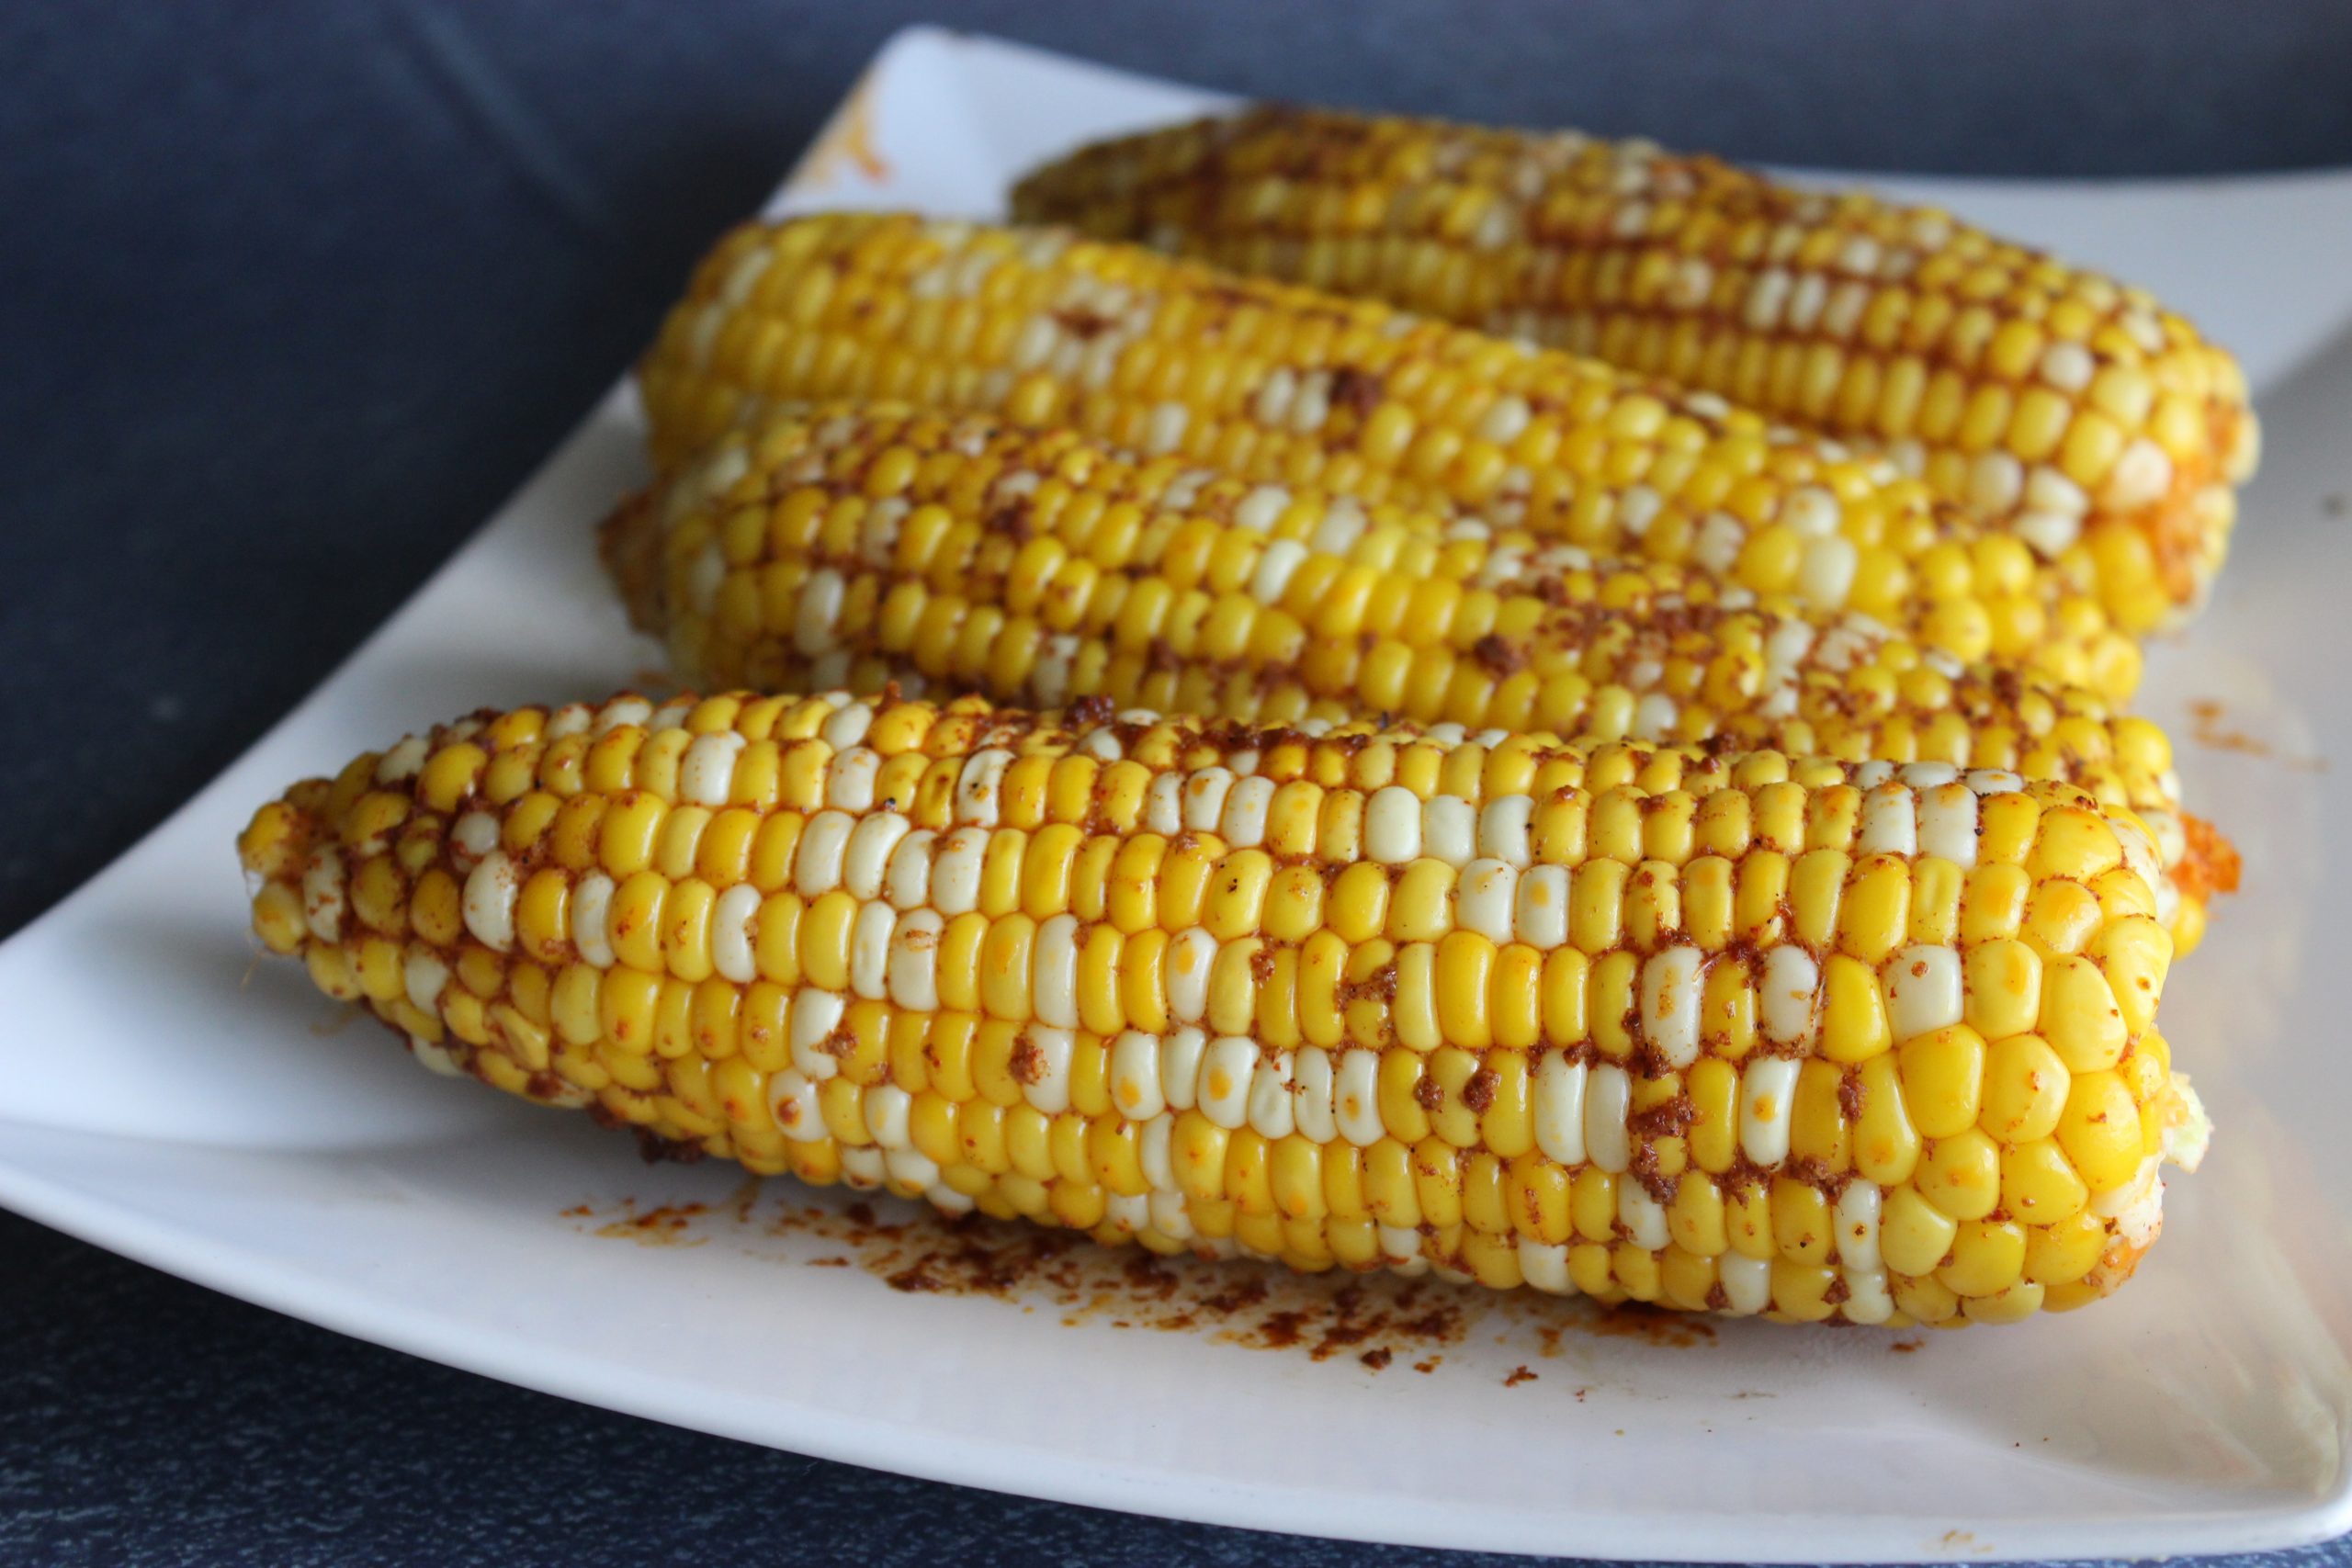
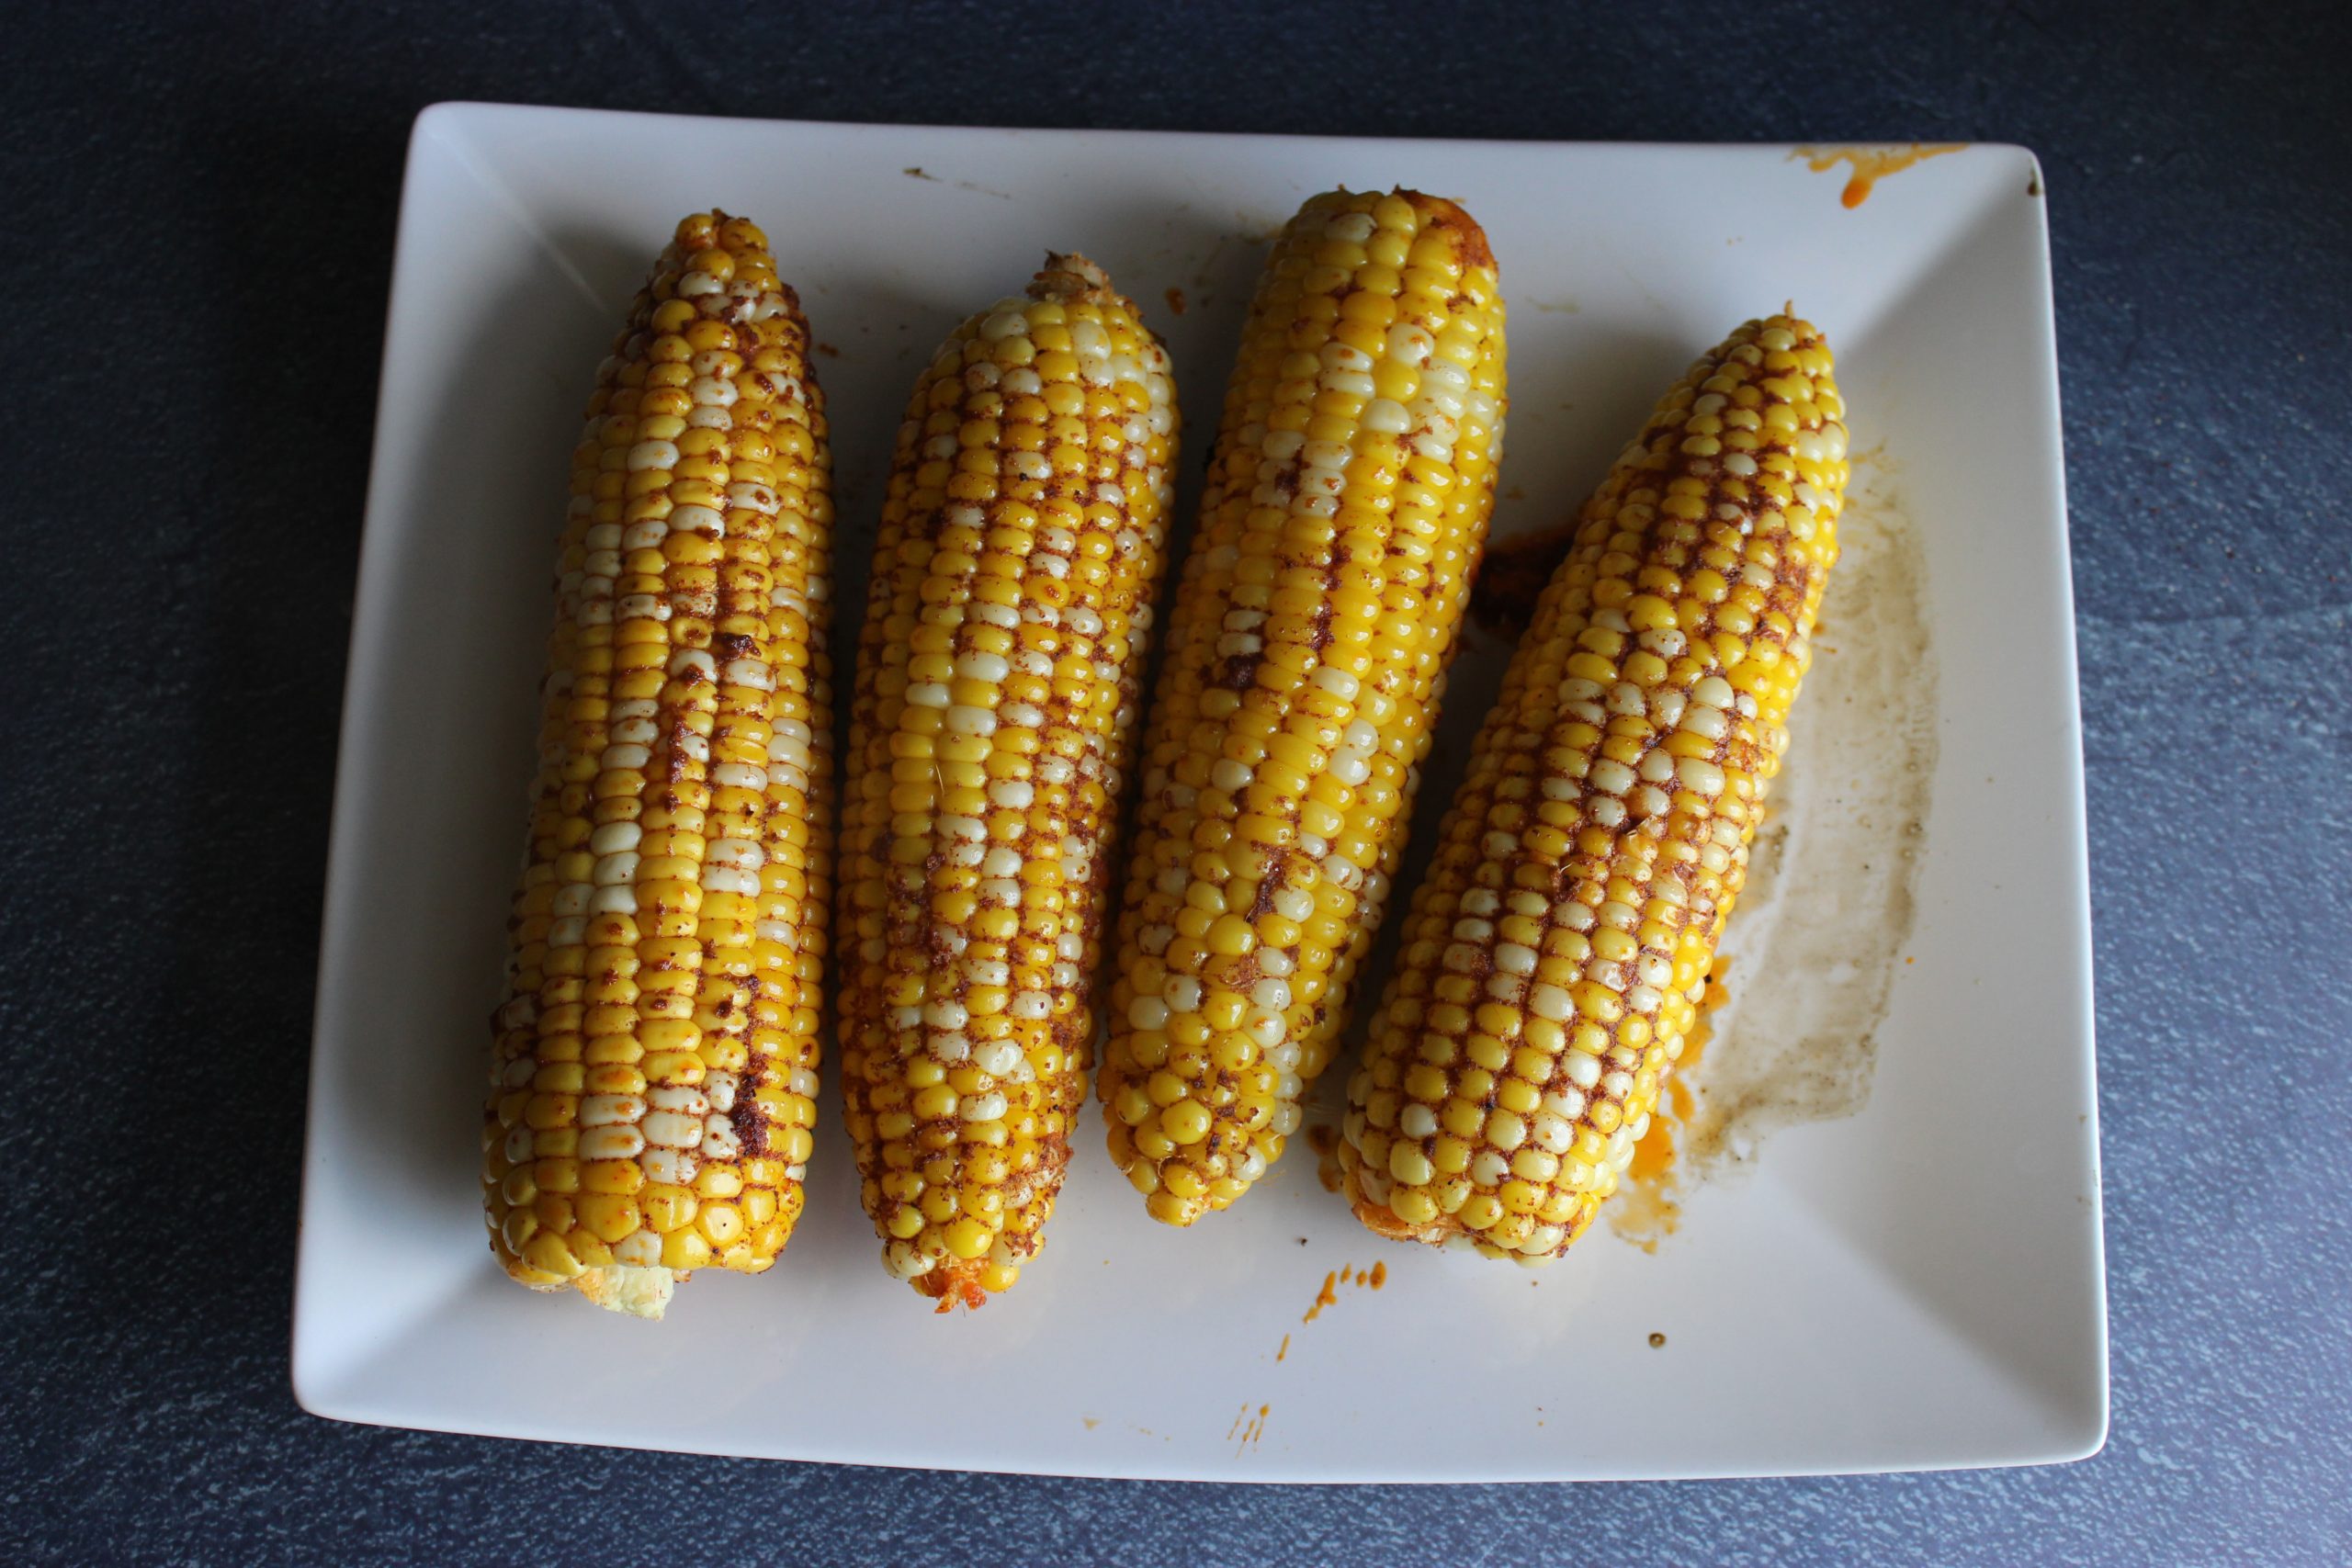
Once the grilled corn is ready, carefully remove the foil wrapping. The aroma of the buttery, seasoned corn will be irresistible! Serve the corn on a platter and watch as your family and friends are drawn to its mouthwatering allure.
Grilled Corn

- 4 Ears of Corn
- 4 tbsp butter (room temperature)
- 4 tsp garlic salt
- 4 tsp paprika
- 4 tsp chili powder
- 1/8 teaspoon salt
- 1/8 teaspoon pepper
- Cut 4 pieces of foil, one for each ear of corn.
- Place corn in foil with 1 tbsp of butter in each.
- Sprinkle 1 tsp of each onto each corn.
- Rub butter and seasoning on corn, then roll up the foil and twist at the ends.
- Cook on grill for 20-30 minutes.
- Unwrap and enjoy!
Grilled corn is the epitome of summer dining – simple, delicious, and packed with flavors that celebrate the essence of the season. This recipe transforms the humble corn on the cob into a culinary masterpiece that will elevate your outdoor gatherings to new heights.
So, the next time you’re looking for a delightful addition to your grilling repertoire, remember this grilled corn recipe and watch as it becomes a family favorite that everyone will savor and cherish. Enjoy the delightful combination of sweet, smoky, and savory goodness with every bite of this delectable grilled corn!
XOXO,
Katie
You can find more Side Dish recipes here. Get these Stainless Steel Corn Cob Holders Corn on The Cob Skewers so you don’t burn yourselves!
