In this article I will share a tutorial of how you can easily install Google Analytics in your WordPress website.
*update May 20, 2023: these are the instructions for Universal Analytics which will be sunsetted on July 1, 2023. These instructions may not work in GA4.
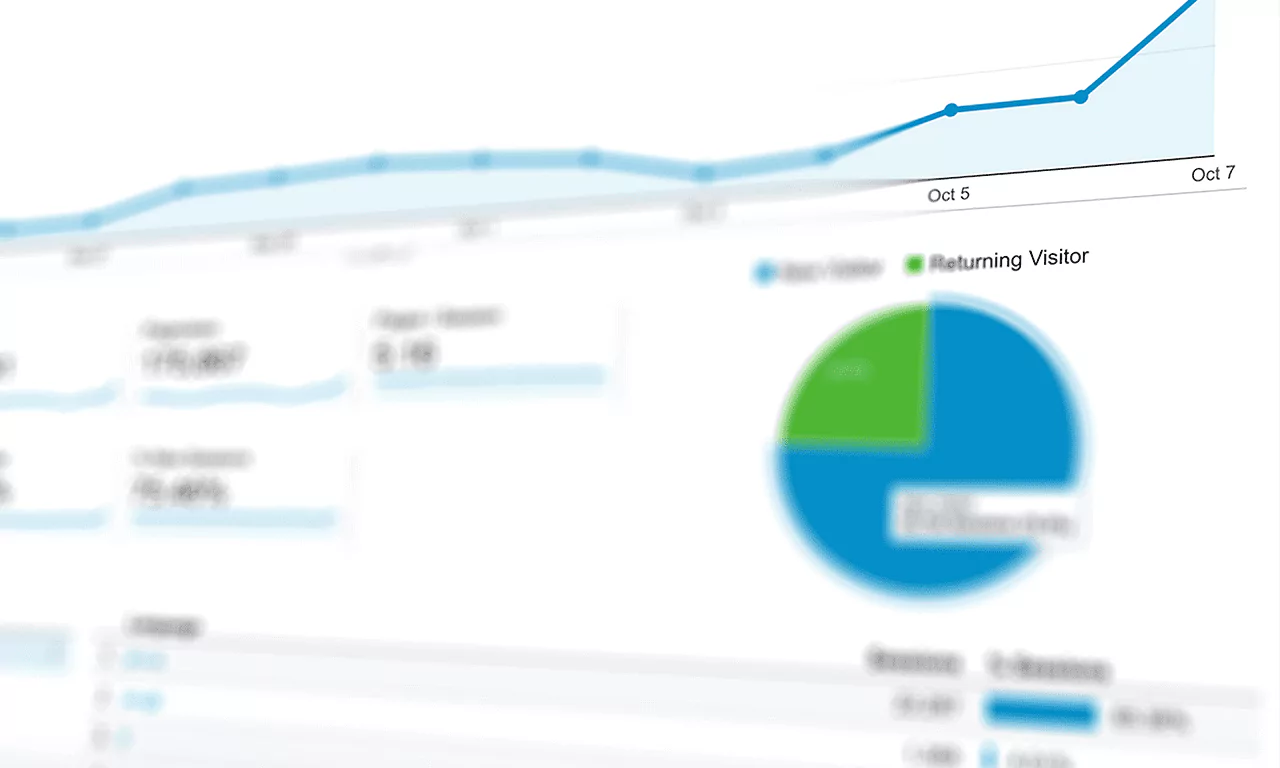
You can learn more about Google Analytics and why it’s important to have installed on your website.
Install Google Analytics (a step-by-step guide)
1. Log into your Google Analytics account. Navigate to Admin > Property > Tracking Info. This will bring up a sub-menu.
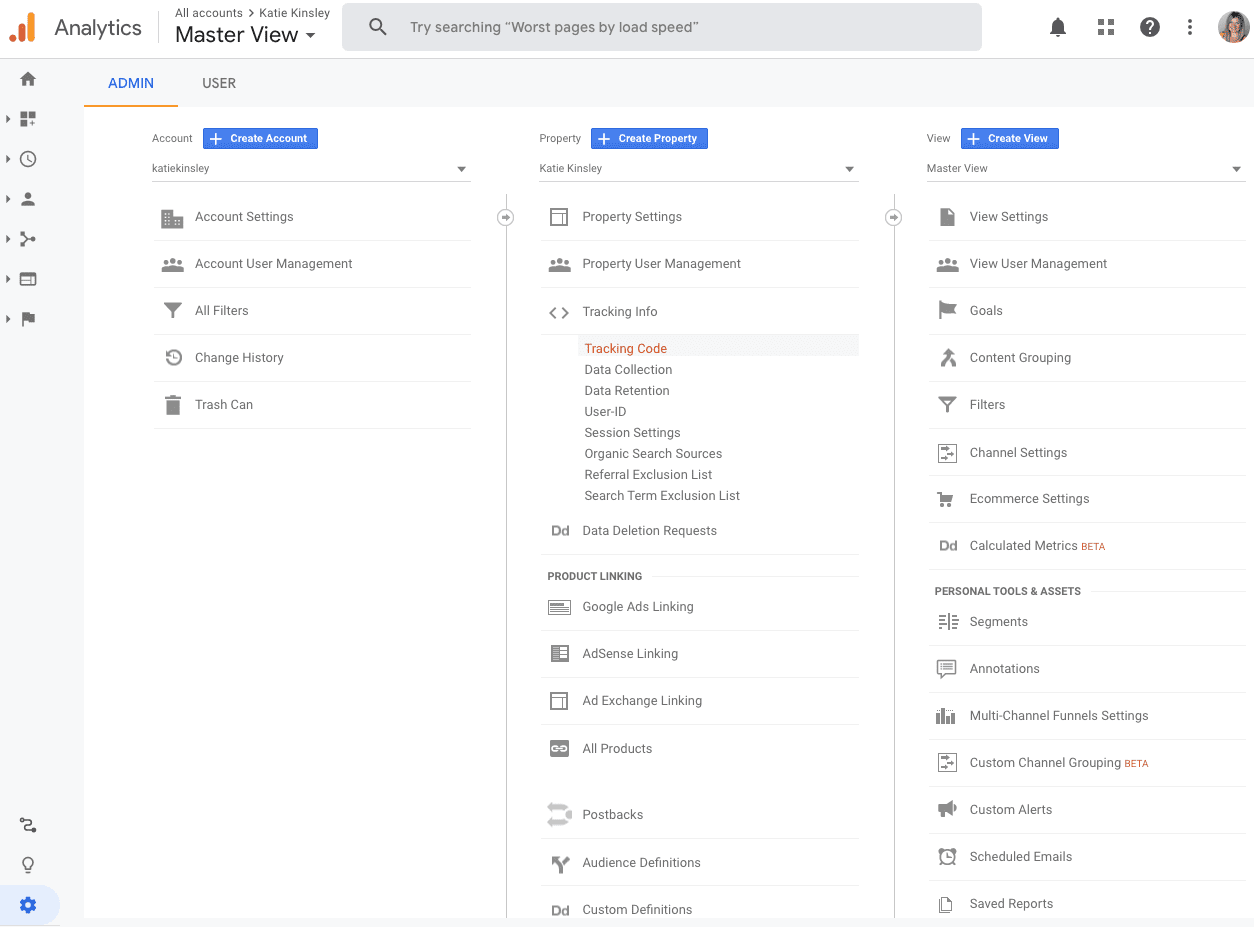
2. Click on Tracking Code. Copy the entire Global Site Tag code.
![]()
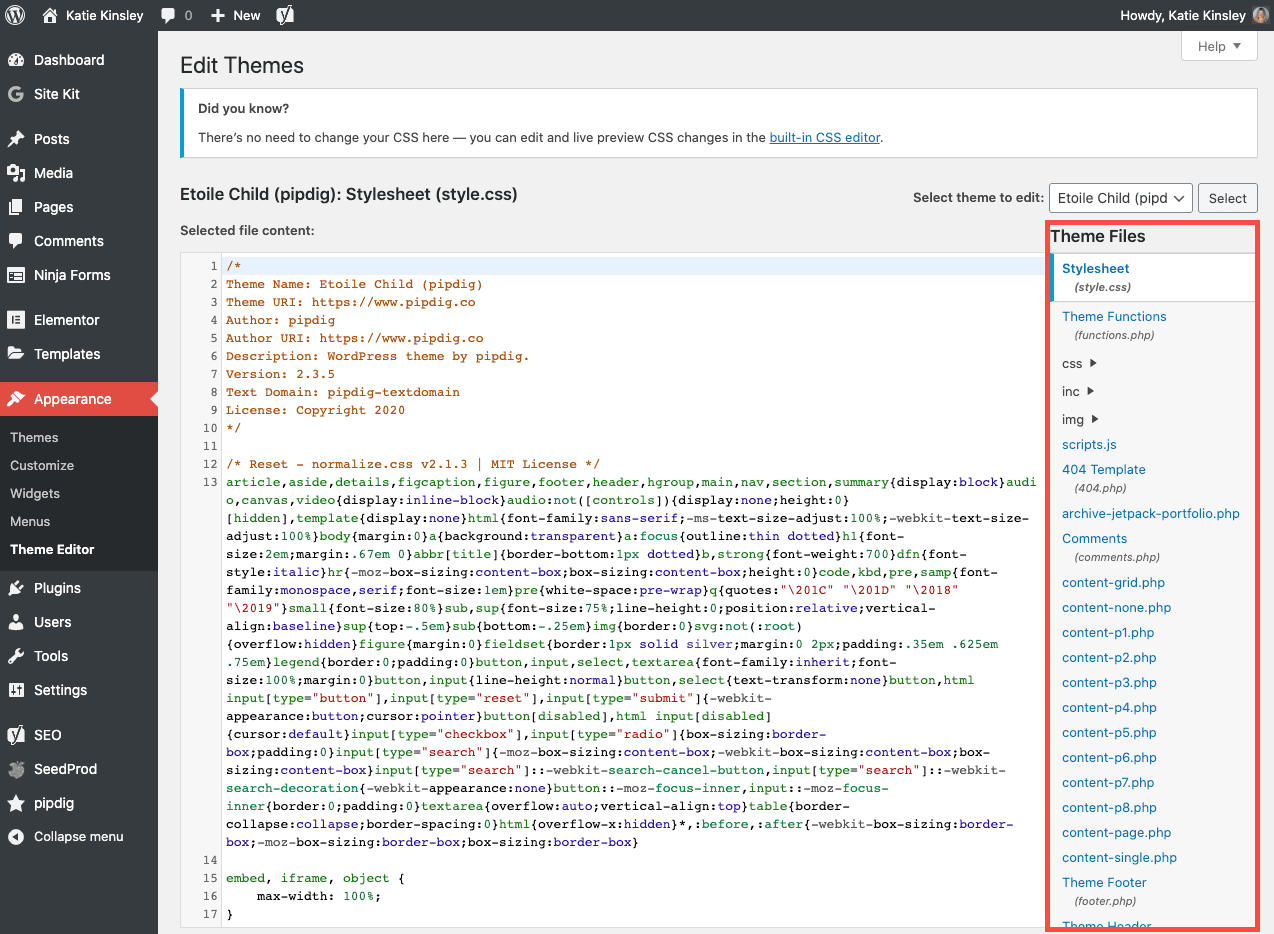
3. Next, you’re going to login to your WordPress as an Admin user. Navigate to Appearance > Theme Editor*. On the left-side, under Theme Files, you’ll want to look for the header.php file.
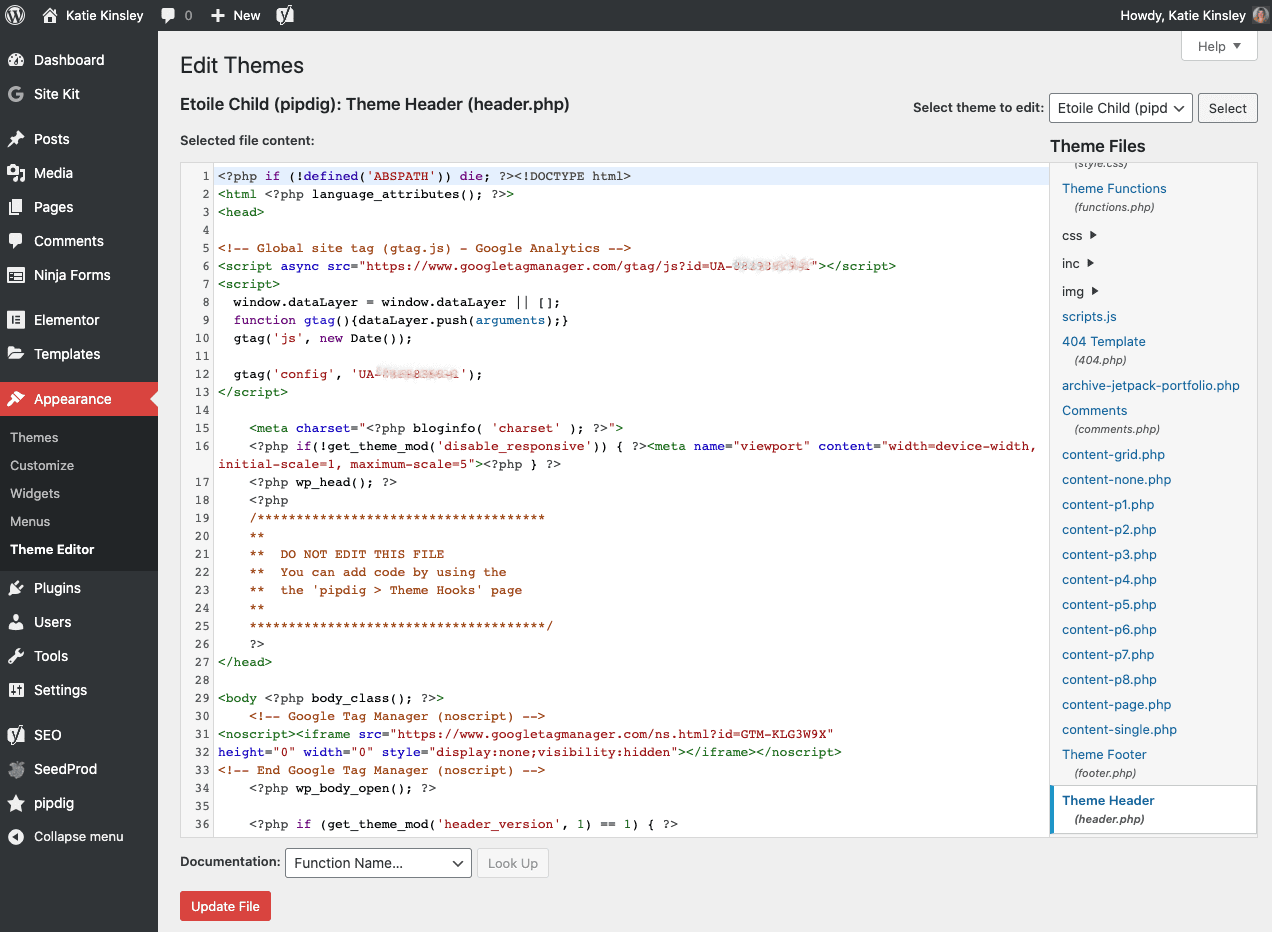
4. Open the header.php file. Paste the code from step #2 directly after the opening < head > tag. Then click Update File.
*Please note that I have made a child theme for my website. A child theme is essentially a copy of the original parent theme. As defined by the WordPress Codex, is a theme that “inherits the functionality and styling of another theme, called the parent theme.” If you add the Google Analytics code to your parent theme this way, the code could be erased in an update.
Alternative Install Method via Plugin
Another option to install Google Analytics on your WordPress website is to use a plugin. The Insert Headers and Footers gives you a simple interface with one place to insert scripts, rather than creating a child theme.
1. Add a new plugin. Install and Activate the plugin.

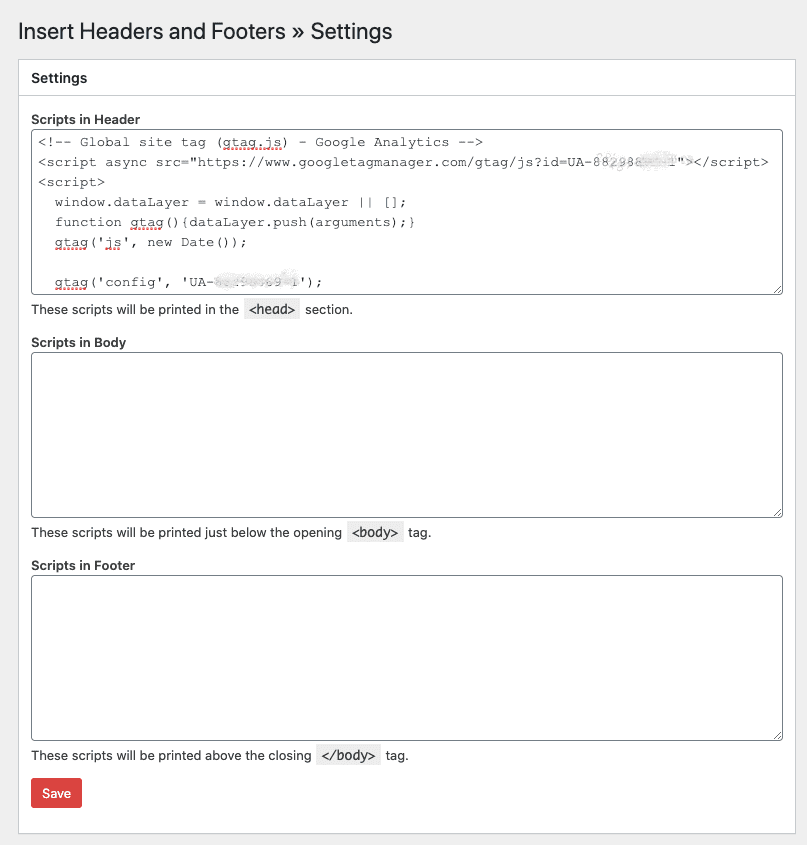
2. Navigate to Settings > Insert Headers and Footers
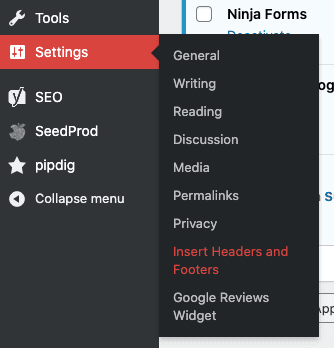
3. Paste the Google Analytics code into the Header section. Save and voila!
Cheers,
Katie